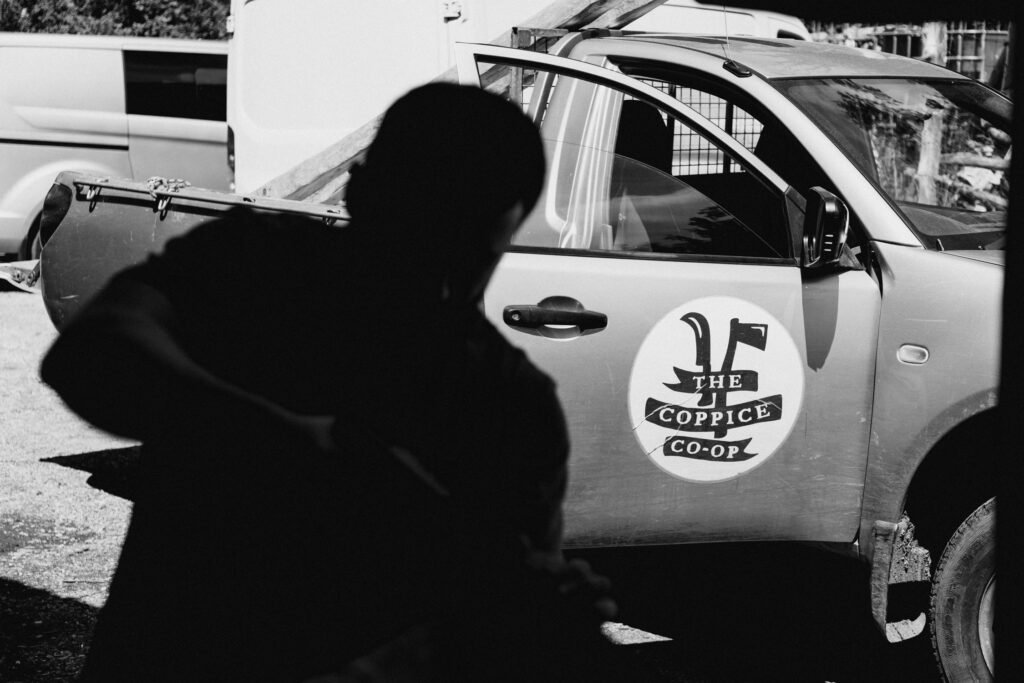

This week, we visited The Coppice Co-op at their base in Slack Head to test our hand and eye coordination and make some handmade wooden stools. We’ve been joined by the Coppice Co-op on some of our previous woodland excursions, and today’s visit offered us a great beginner introduction into the types of products that can be crafted from woodland coppice.
Who are the Coppice Co-op? The Coppice Co-op are a co-operative coppicing and woodcraft business who special in sustainable woodland management, coppice restoration, and heritage crafts.
What is coppicing? Coppicing is a traditional, sustainable and productive form of woodland management. In a coppiced wood, trees are regularly cut off at ground level, causing many rods (rather than one large trunk) to grow from the stump or ‘stool’. The rods that grow from the stool are straight and long and can be used for many crafts and products.
(More information can be found on the Coppice Co-op’s website: https://www.coppicecoop.co.uk/what-is-coppicing)
Duncan with the patience of a saint led us through the day and ensured we left with all our fingers.
To begin we were given a quick site tour and then we jumped right into stool making. Duncan gave us an overview of what the day would entail and then got us stuck in.
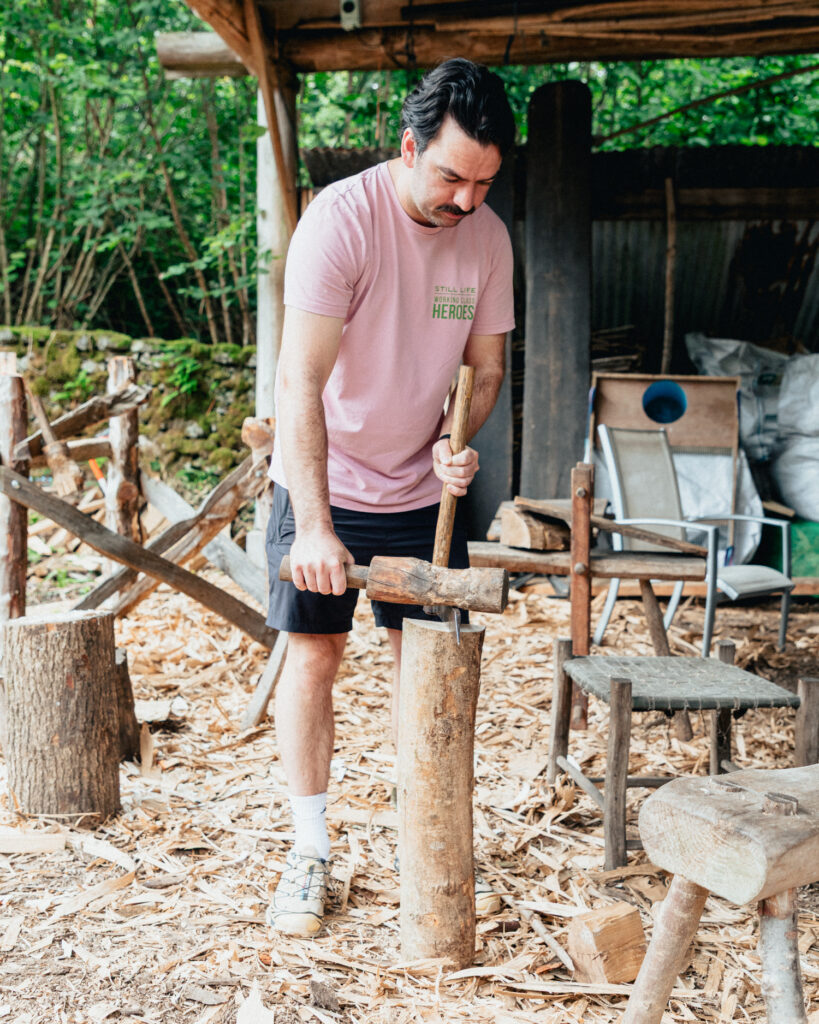
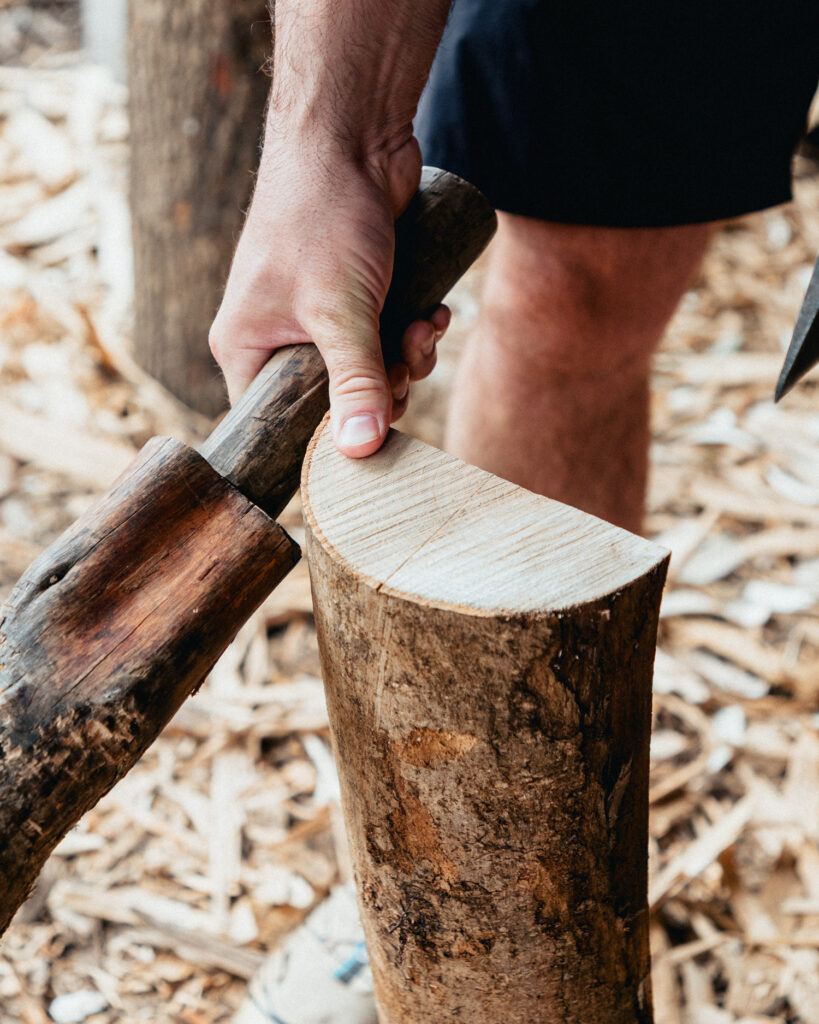
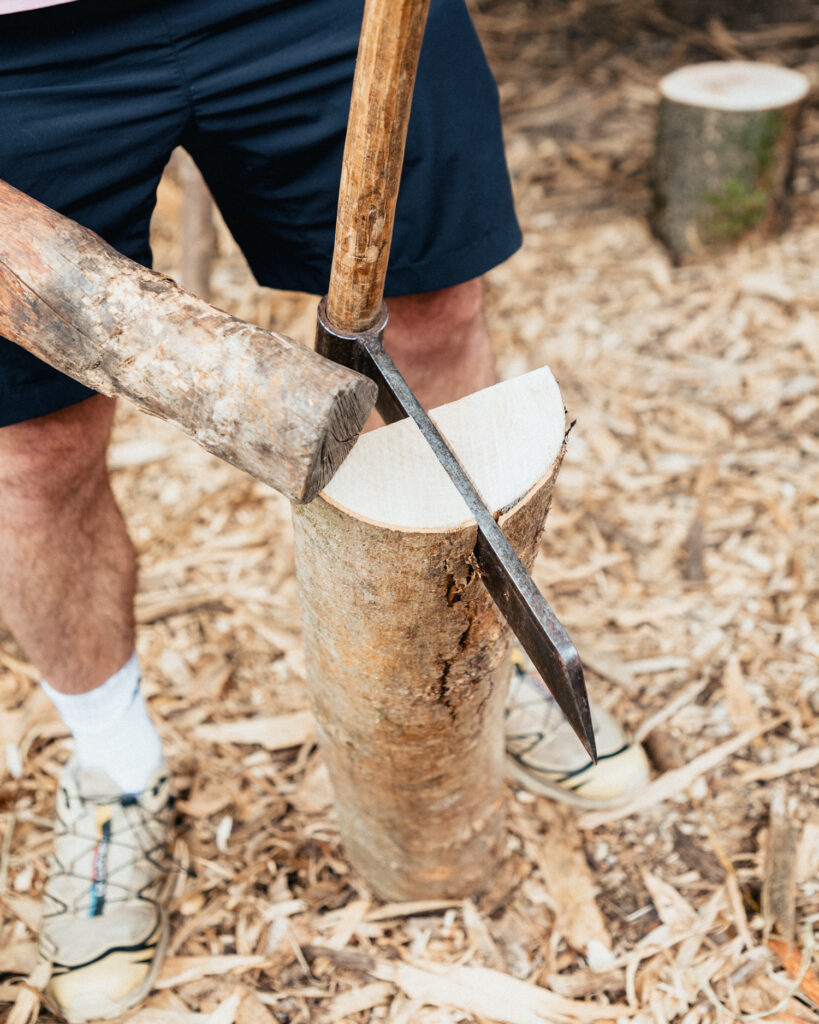
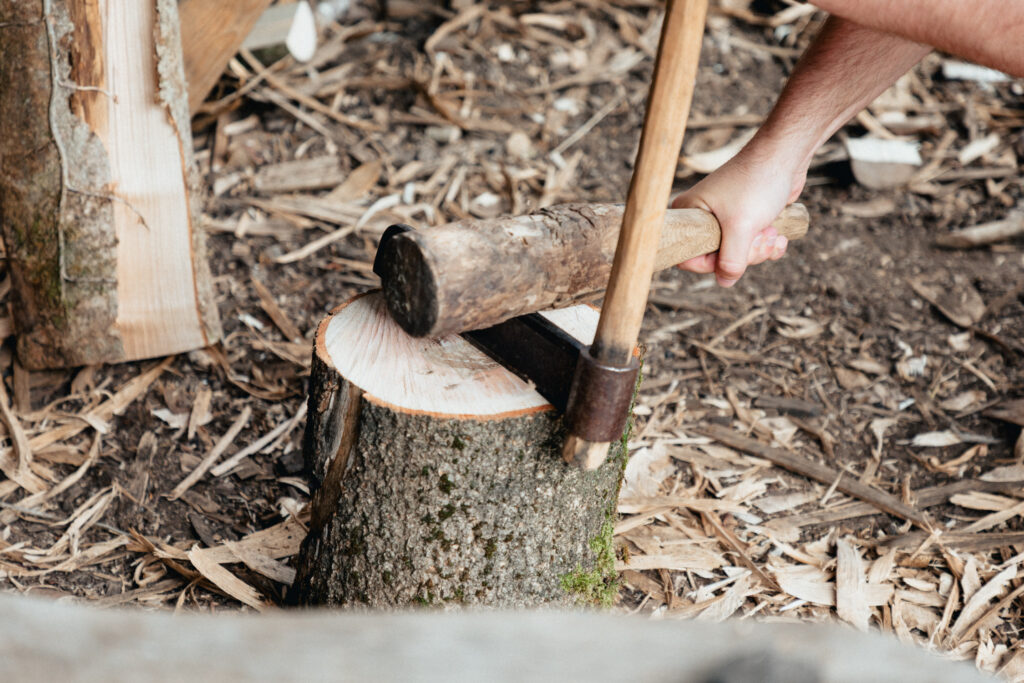
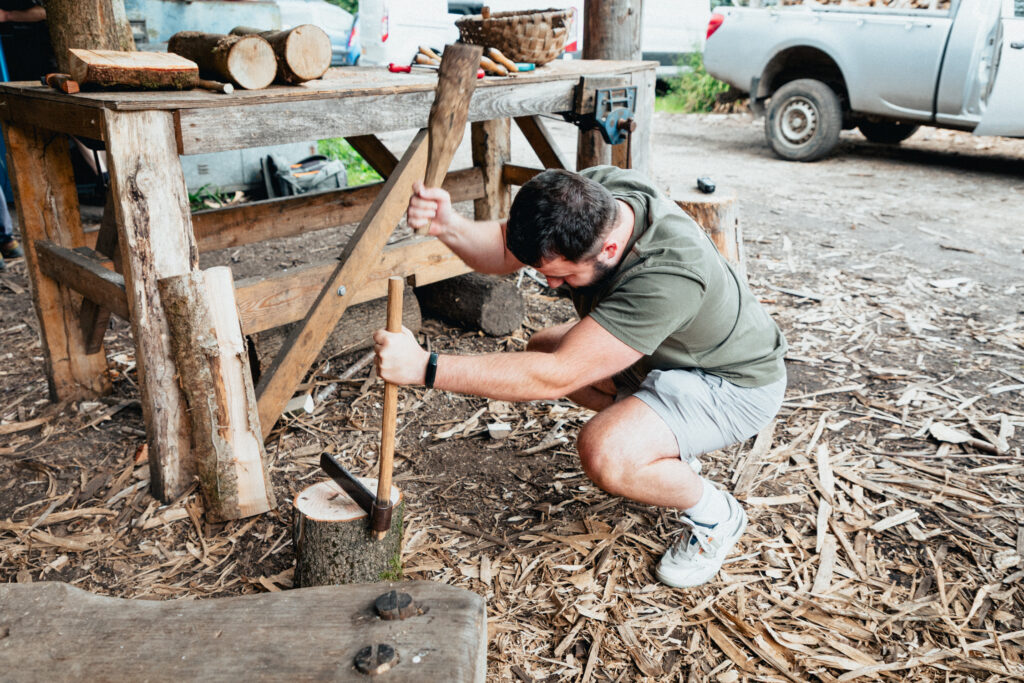
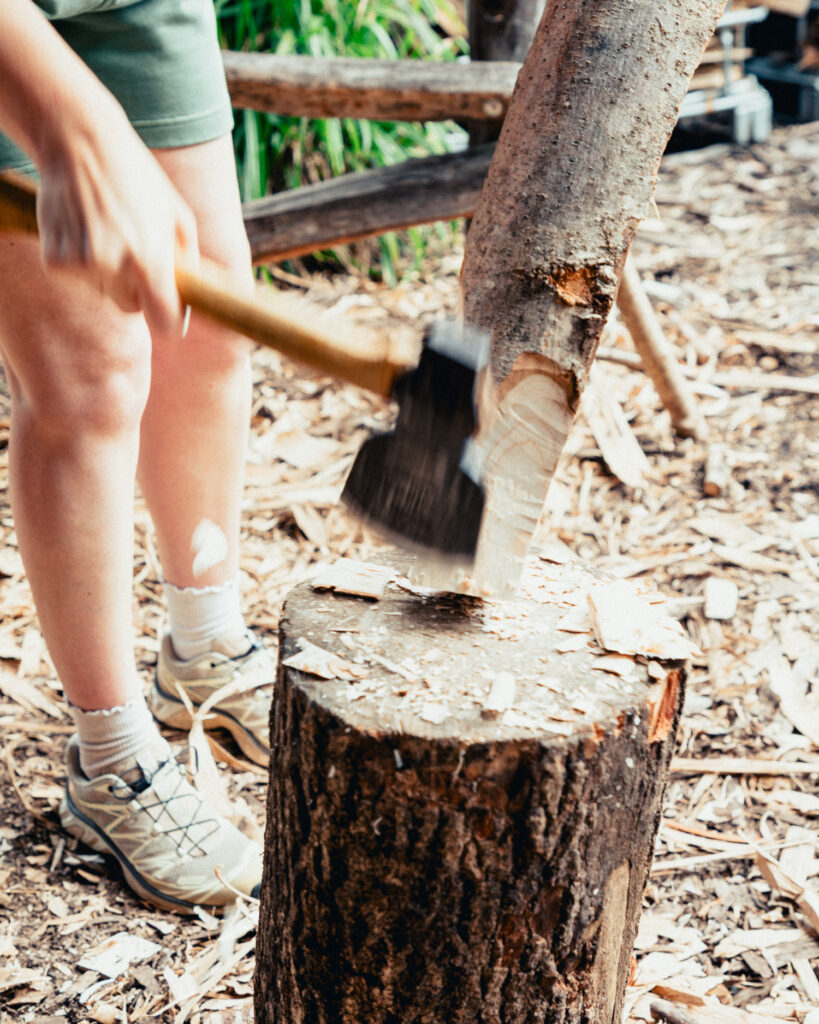
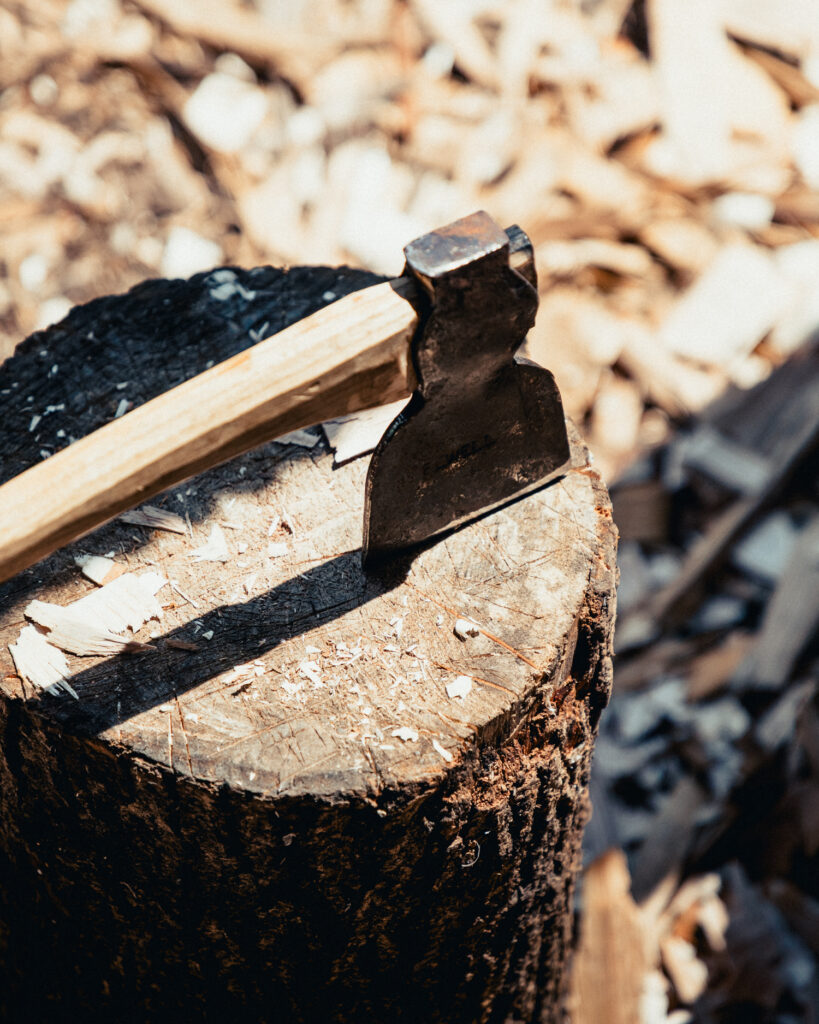
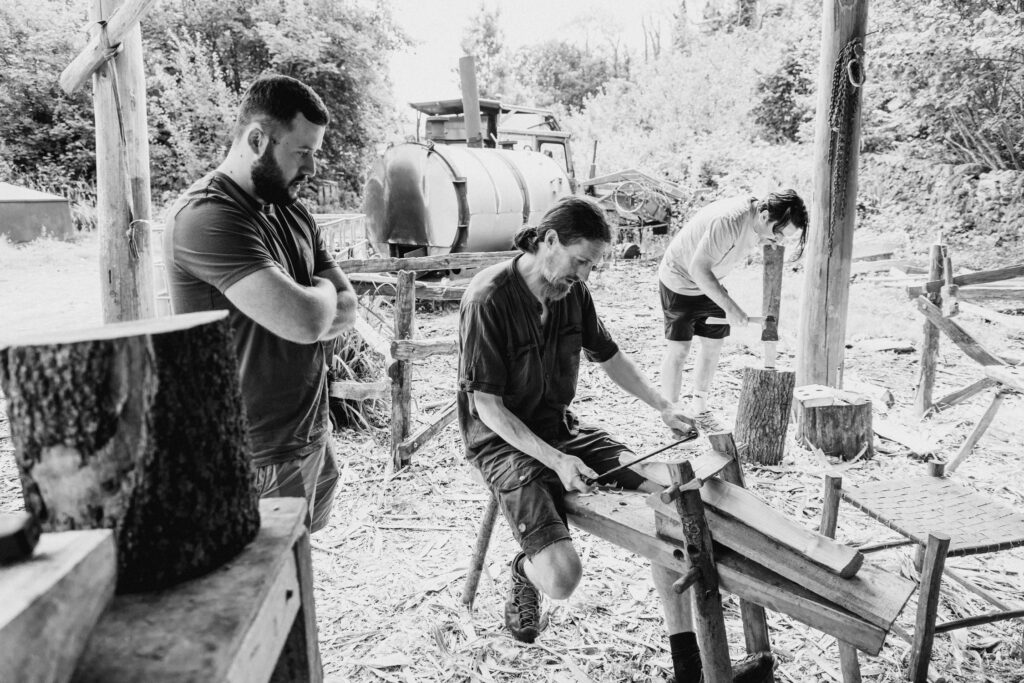
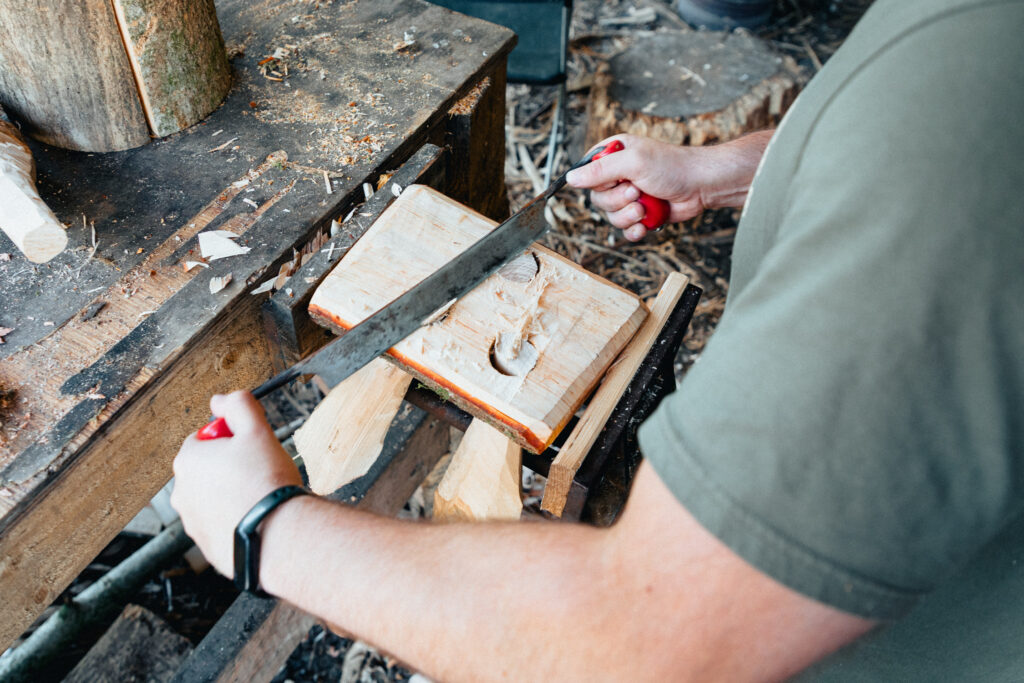
Splitting the wood.
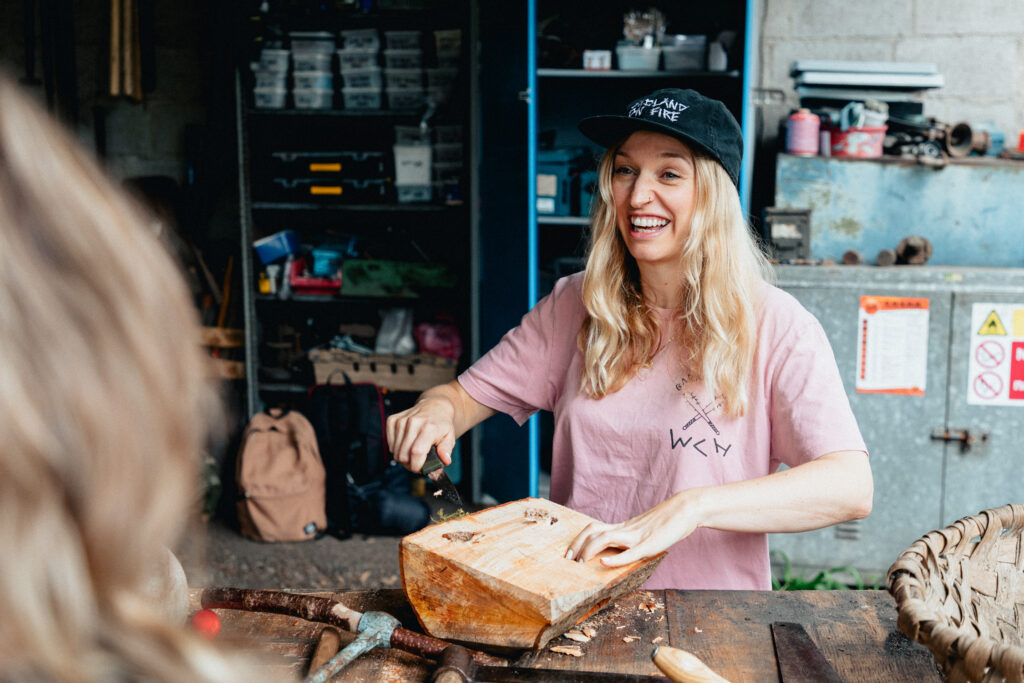
The first step would be prepping our materials. To begin, we needed to split the wood we’d be using. This gave us a rough shape that could later be refined into the final components. Using a froe and mallet, we first marked where we intended to split the wood—aiming to cut through the central growth rings to relieve internal pressure as the wood dries.
Once satisfied with the positioning, we placed the froe on the mark and drove it into the wood with the mallet. After the froe was embedded deeply enough, we twisted it to extend the split down the length of the log, effectively splitting it apart.

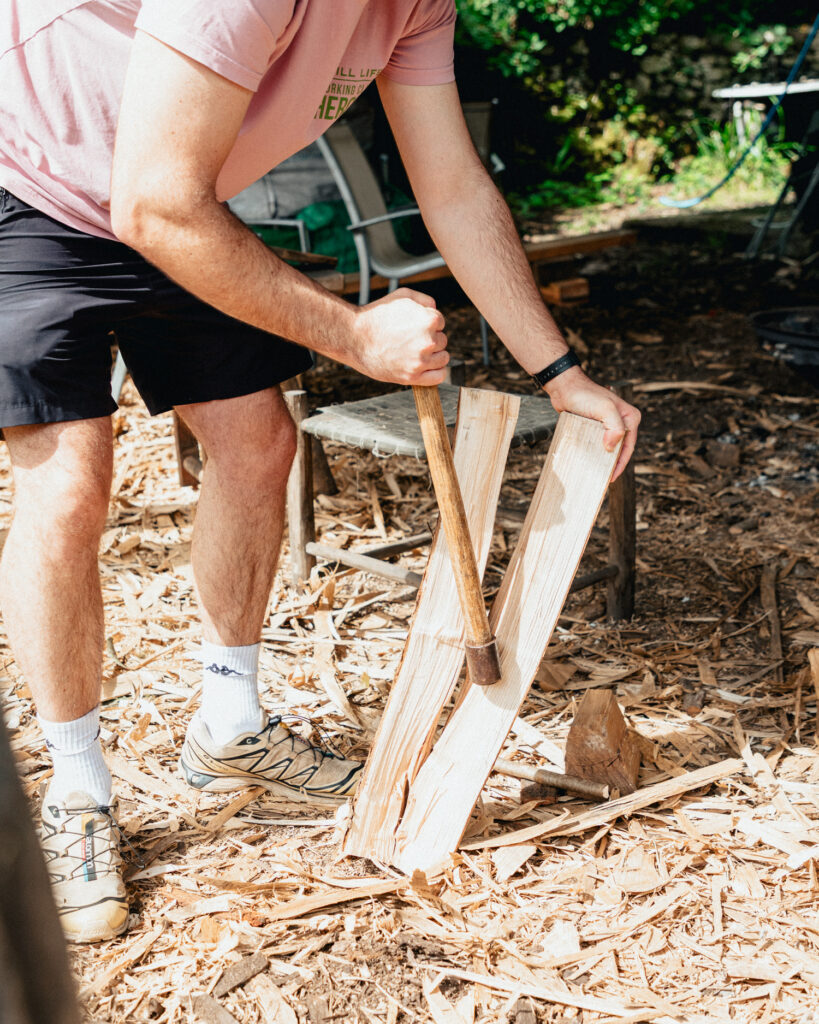
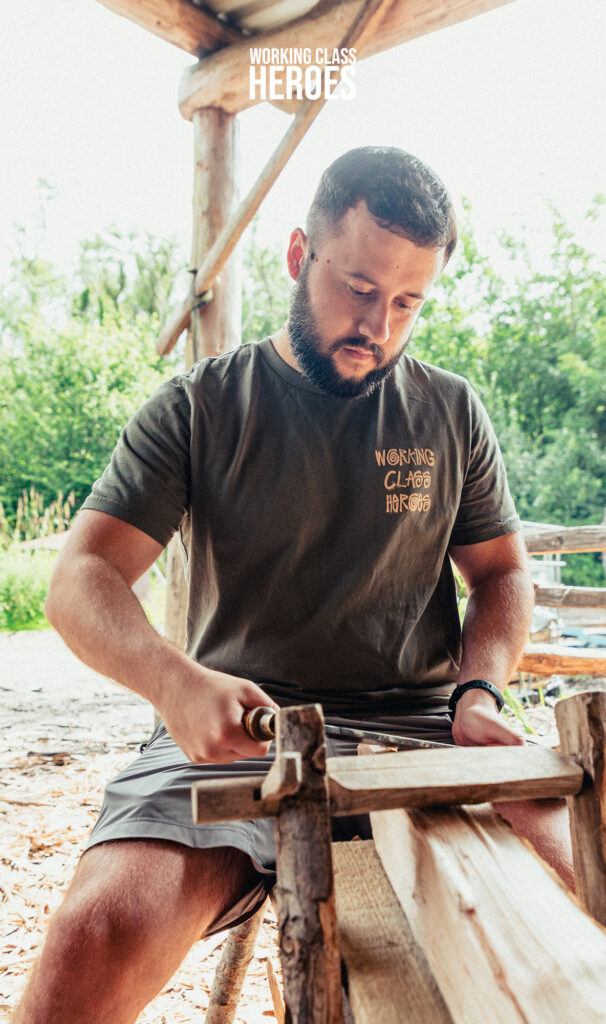
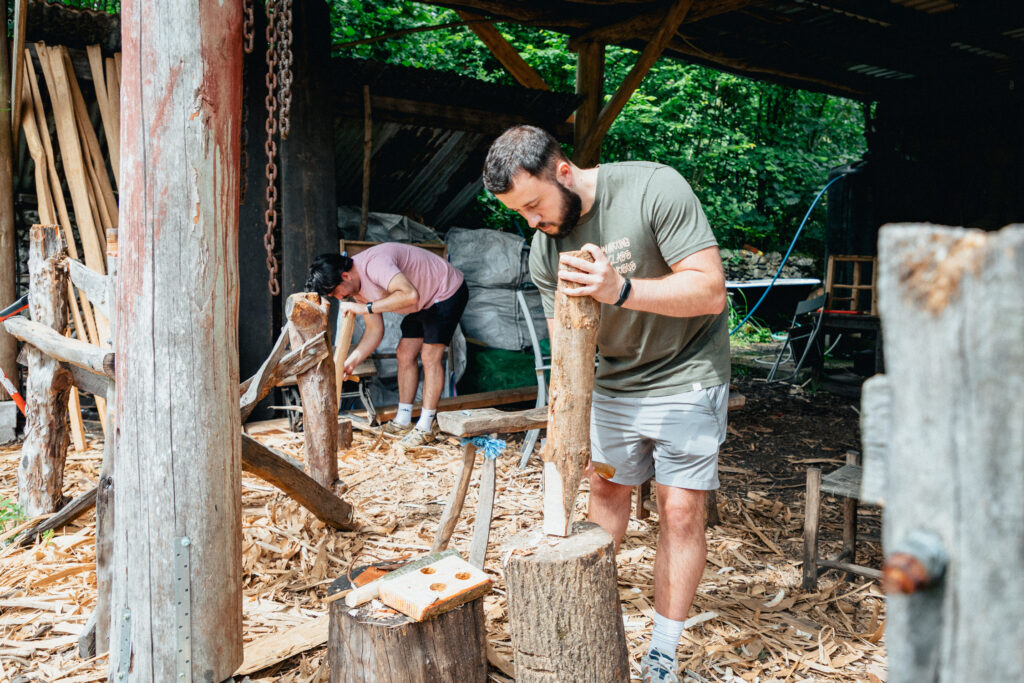
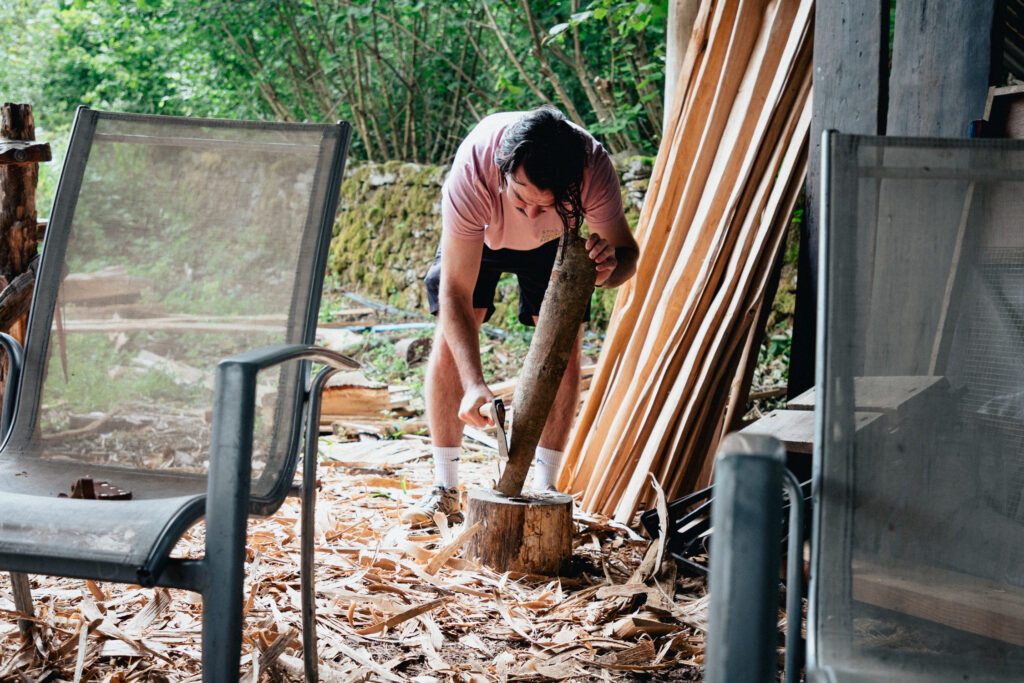
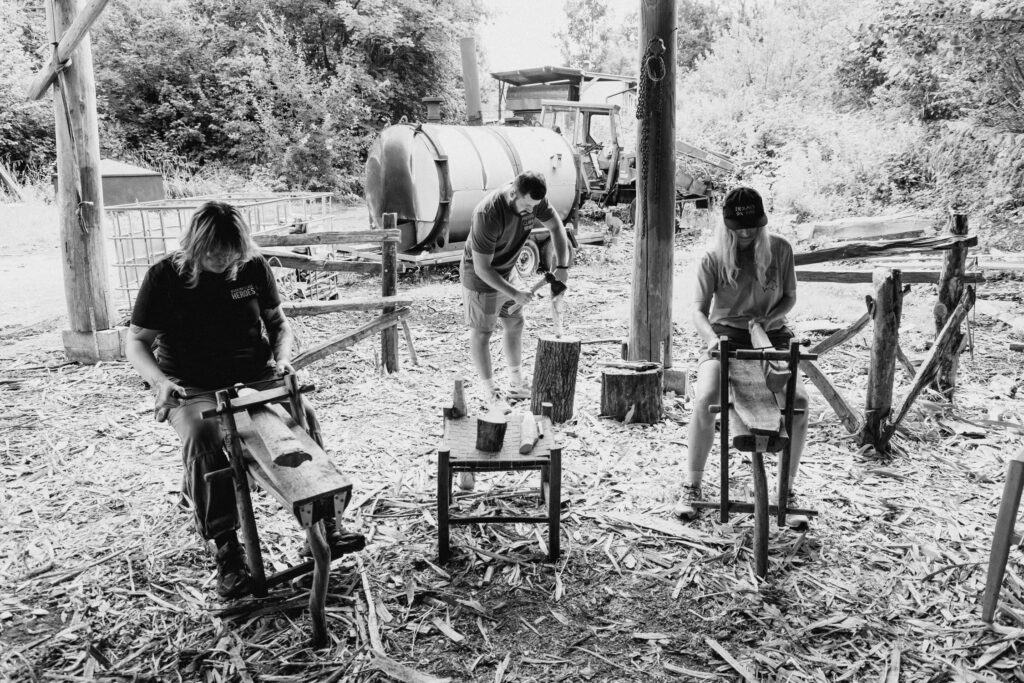
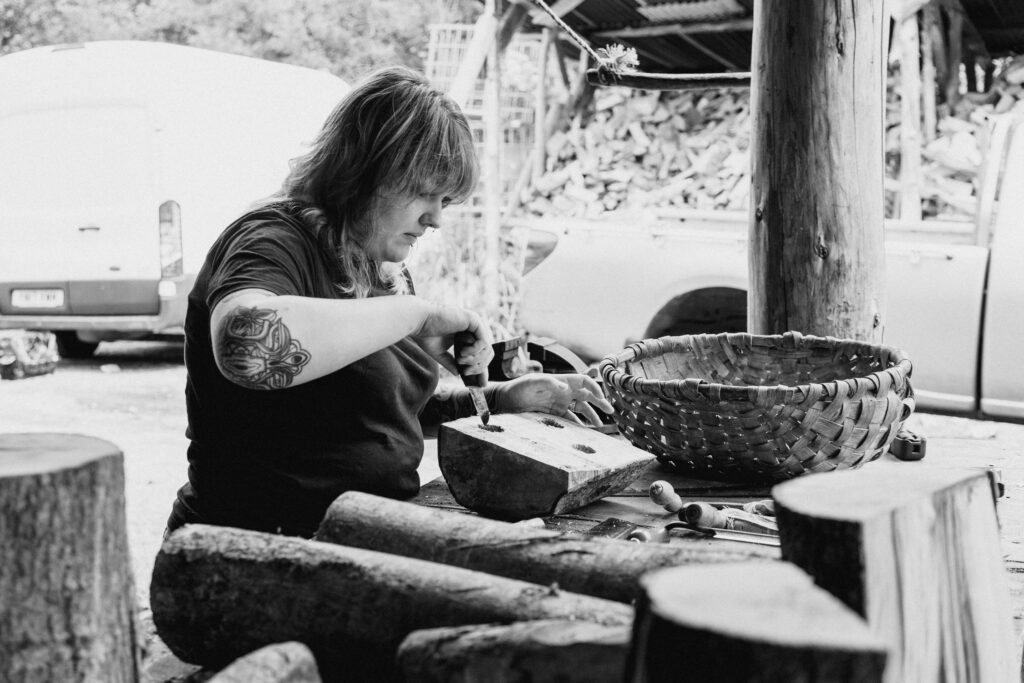
Shaping the stool legs.
After splitting the wood, we began shaping the stool legs. The goal at this stage was to roughly form the end of each log quarter into a cylindrical shape, which could later be further refined on the shave horse.
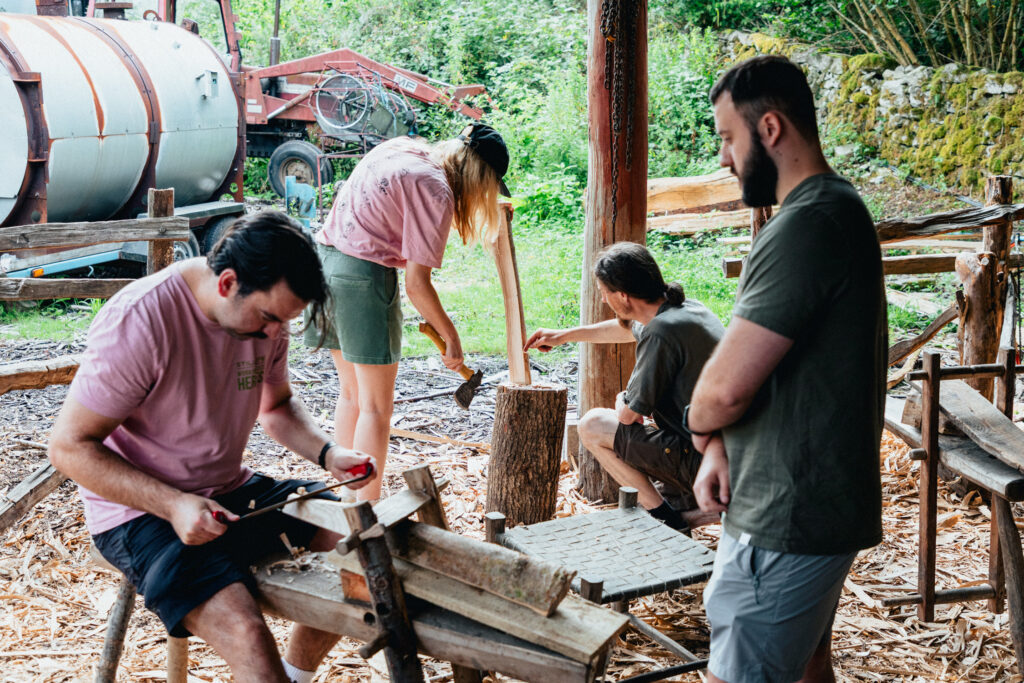

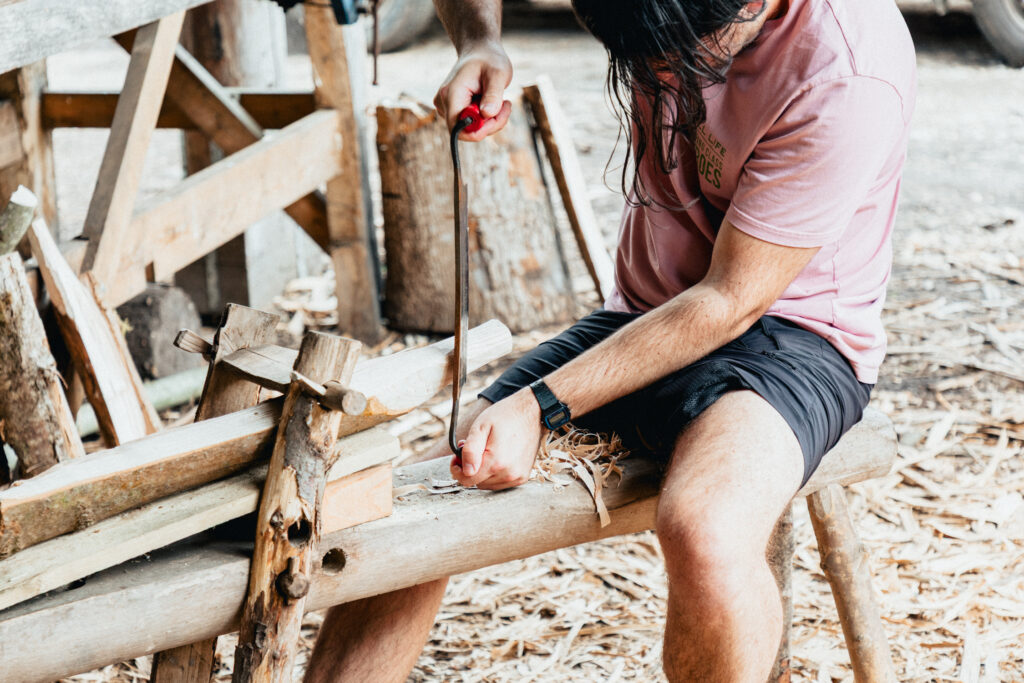
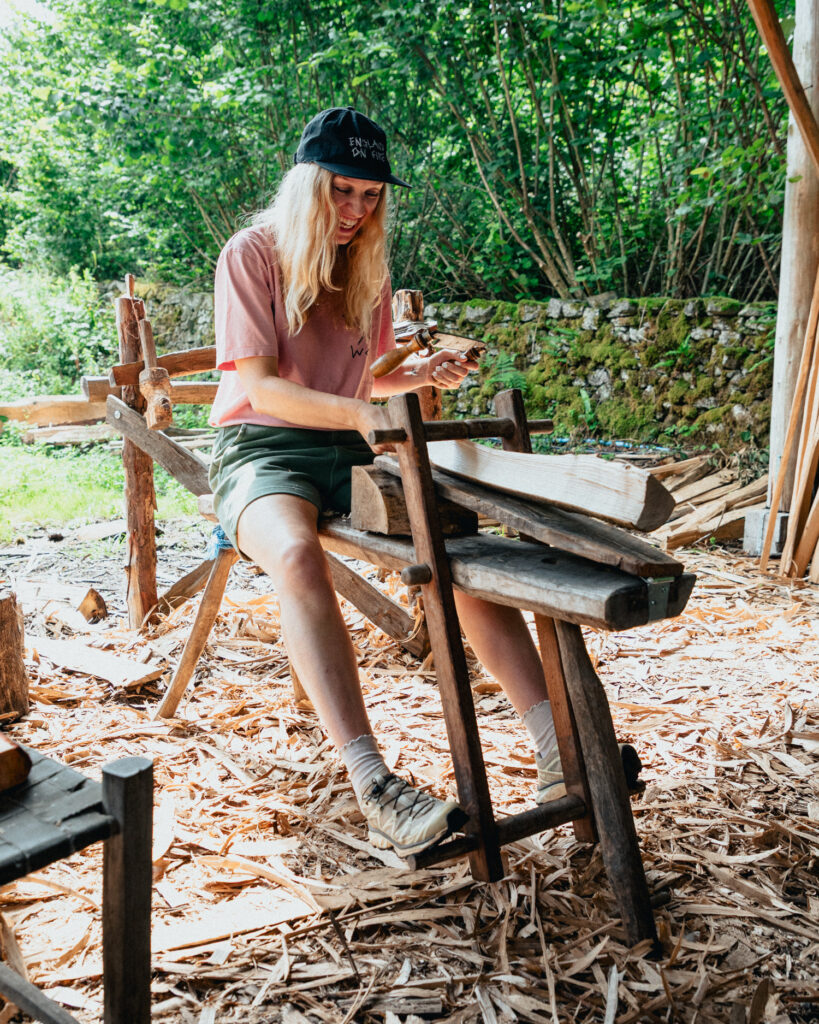
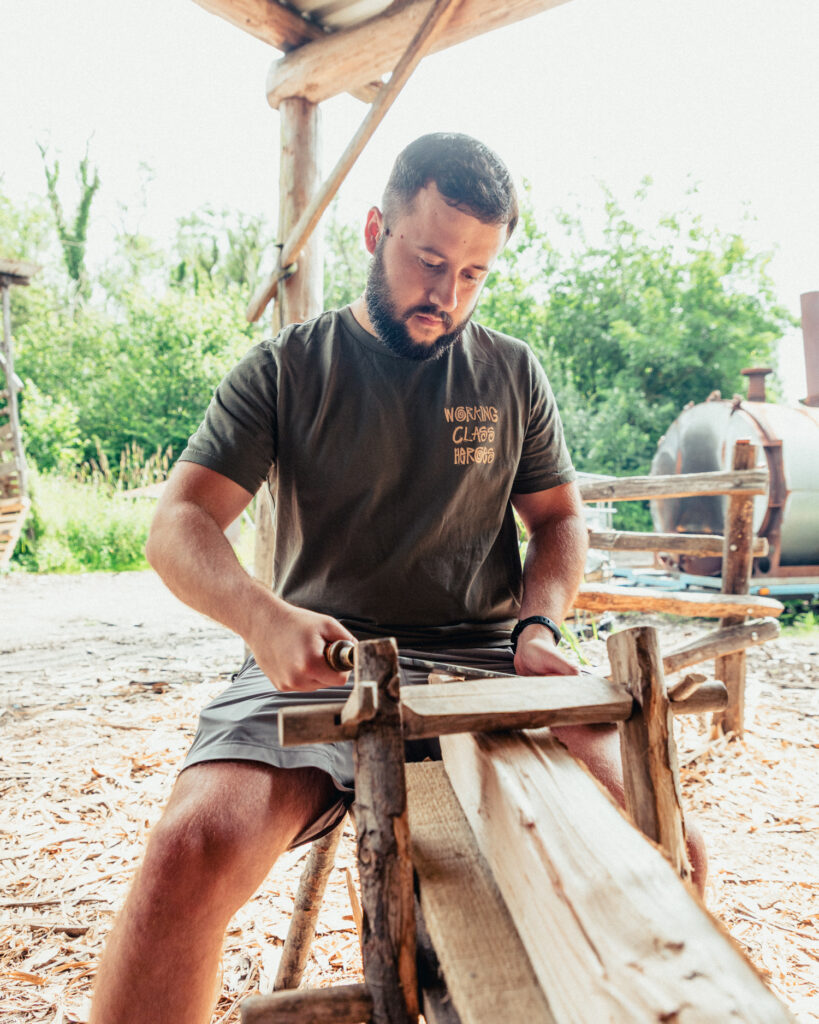
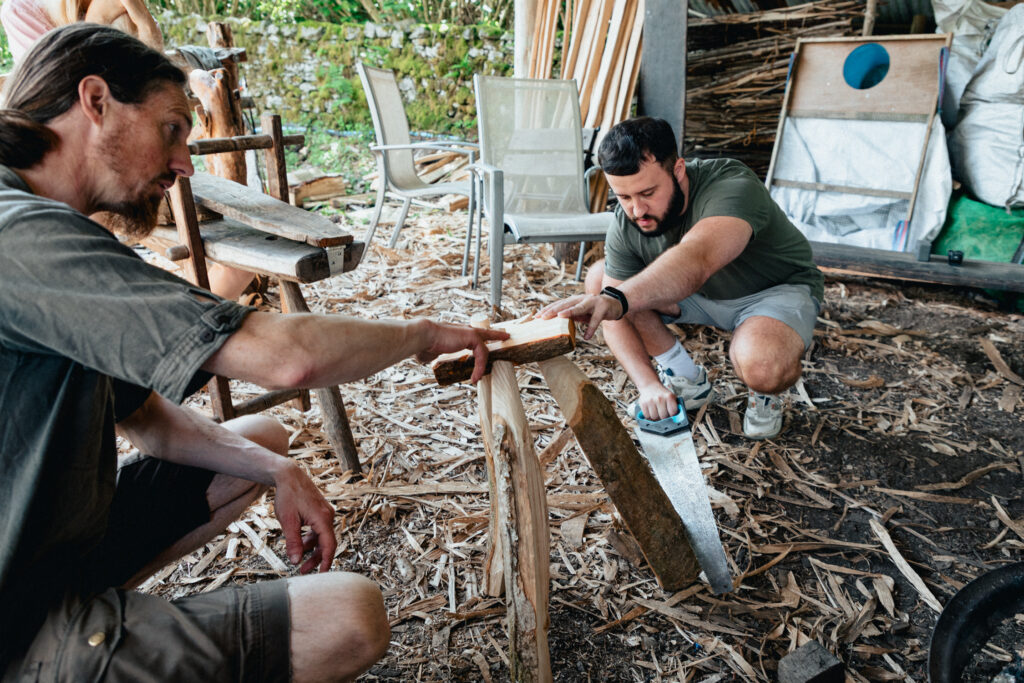
Refining the stool legs.
After roughly shaping the stool legs with a hatchet, the next step was to clamp each leg into a shave horse. This held the leg securely, allowing us to use a drawknife to refine its shape.
The goal at this stage was to round over the end of the leg and bring it to a consistent thickness, ensuring it would fit snugly into the holes we planned to drill into the seat.

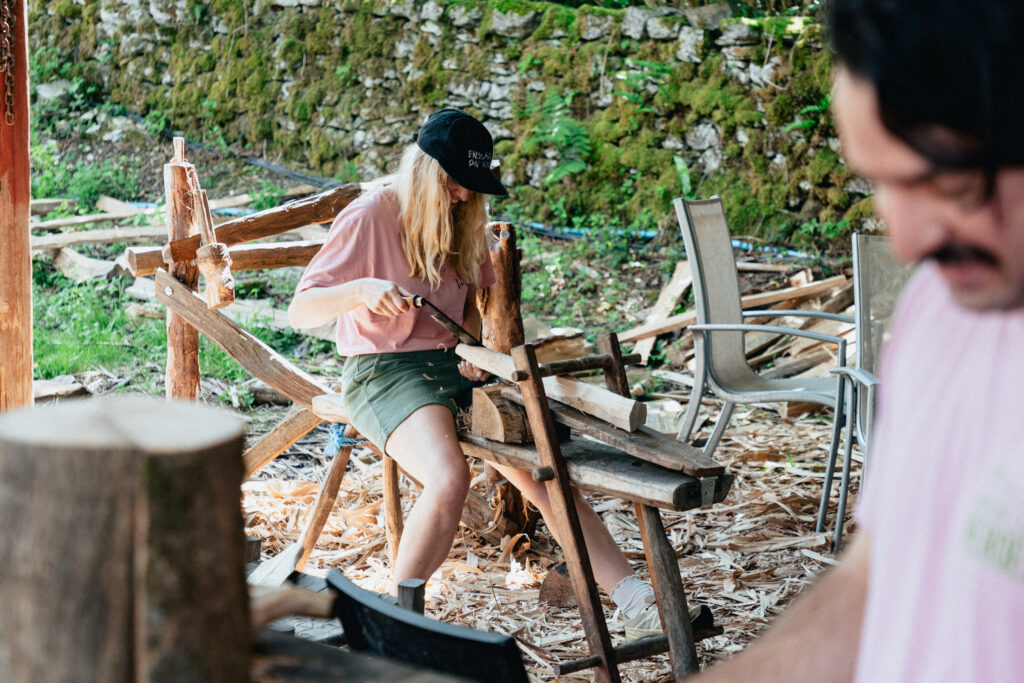
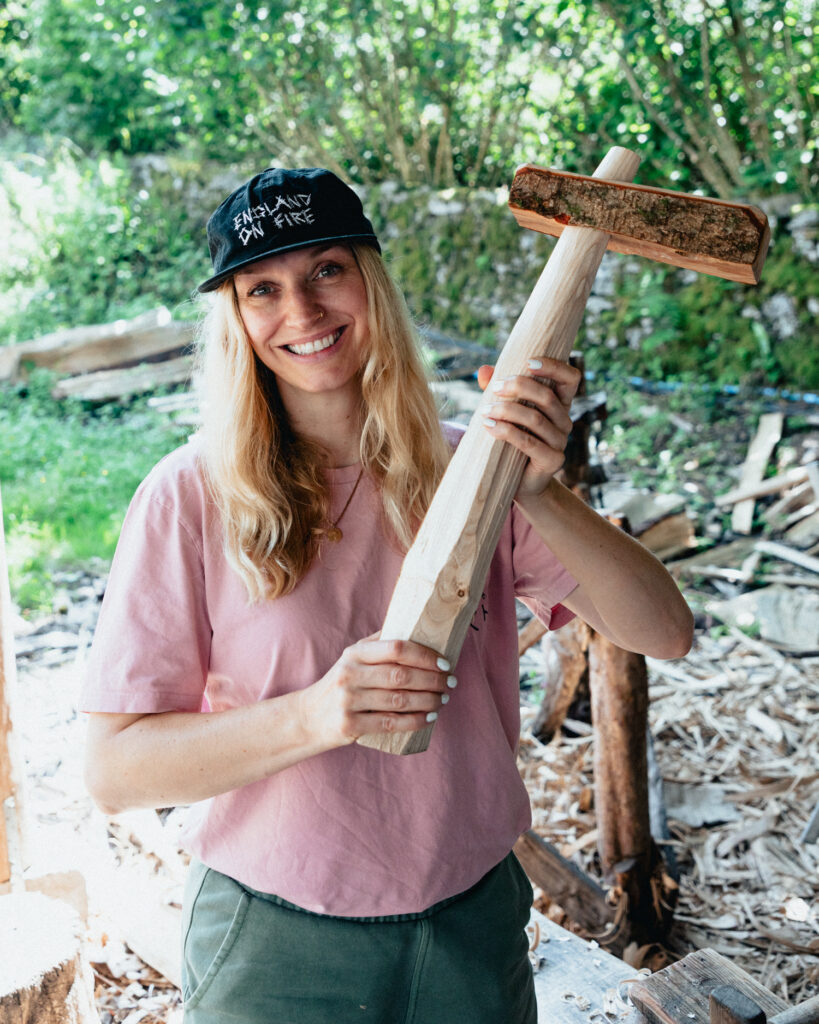
Sally with her perfectly shaped stool leg, only 2 more to go.
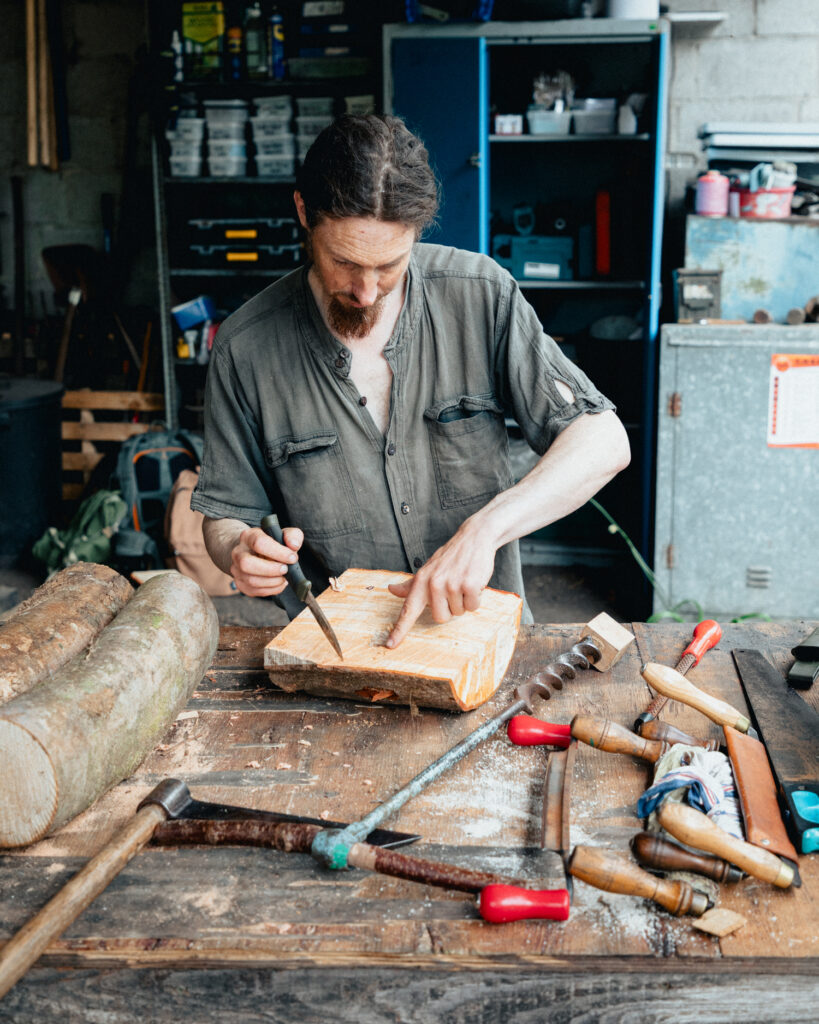
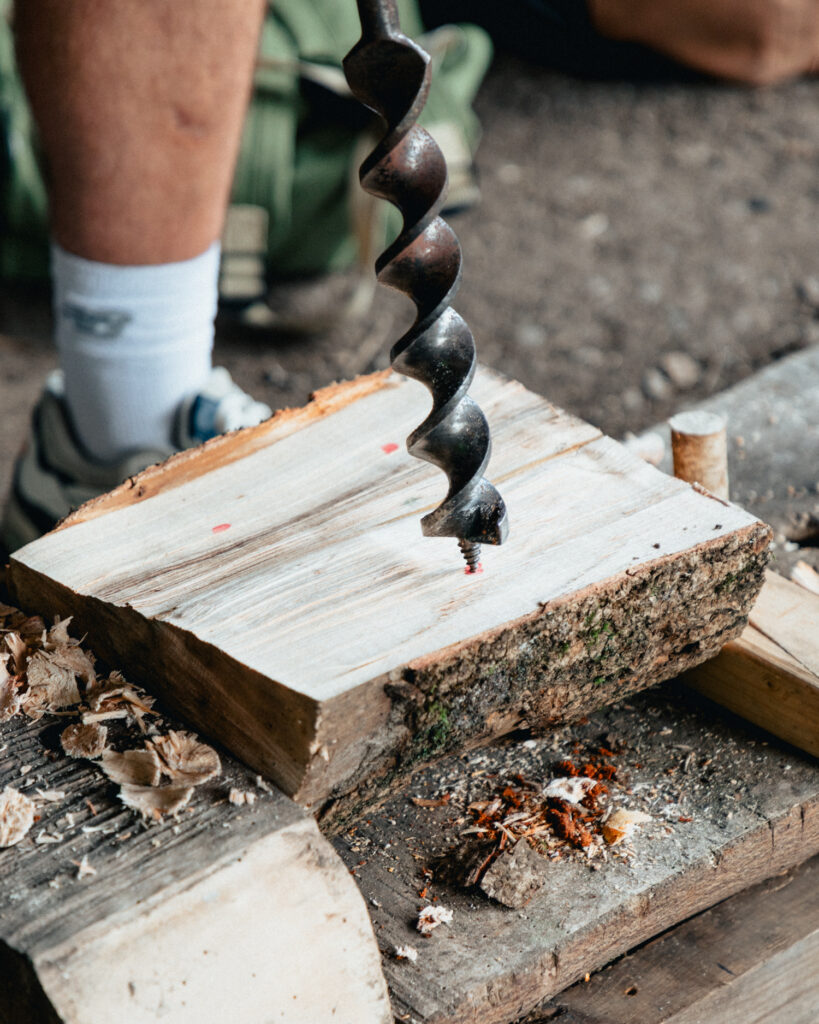
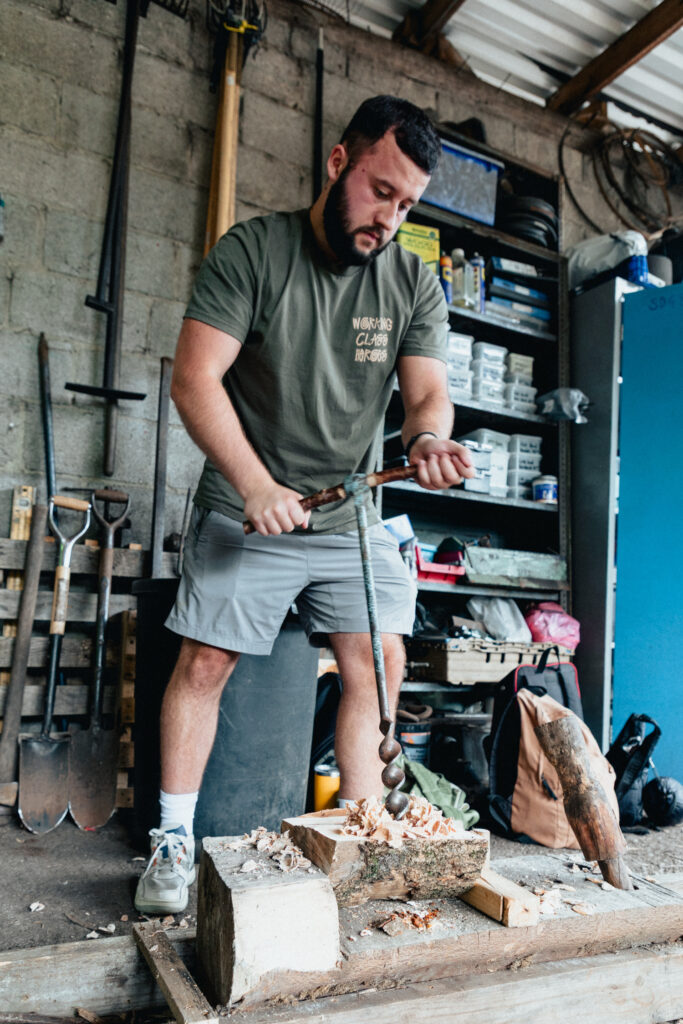
Drilling the holes for the legs.
To attach the stool legs to the seat, we first needed to drill some holes. We secured the seat firmly in a large vice, then marked three evenly spaced points for drilling. Using a large hand drill, we carefully began drilling the holes. The key here was to drill each hole at an outward-facing angle of approximately 60 degrees. This ensured that, once attached, the legs would splay outward from the center, creating a stable and well-balanced base.
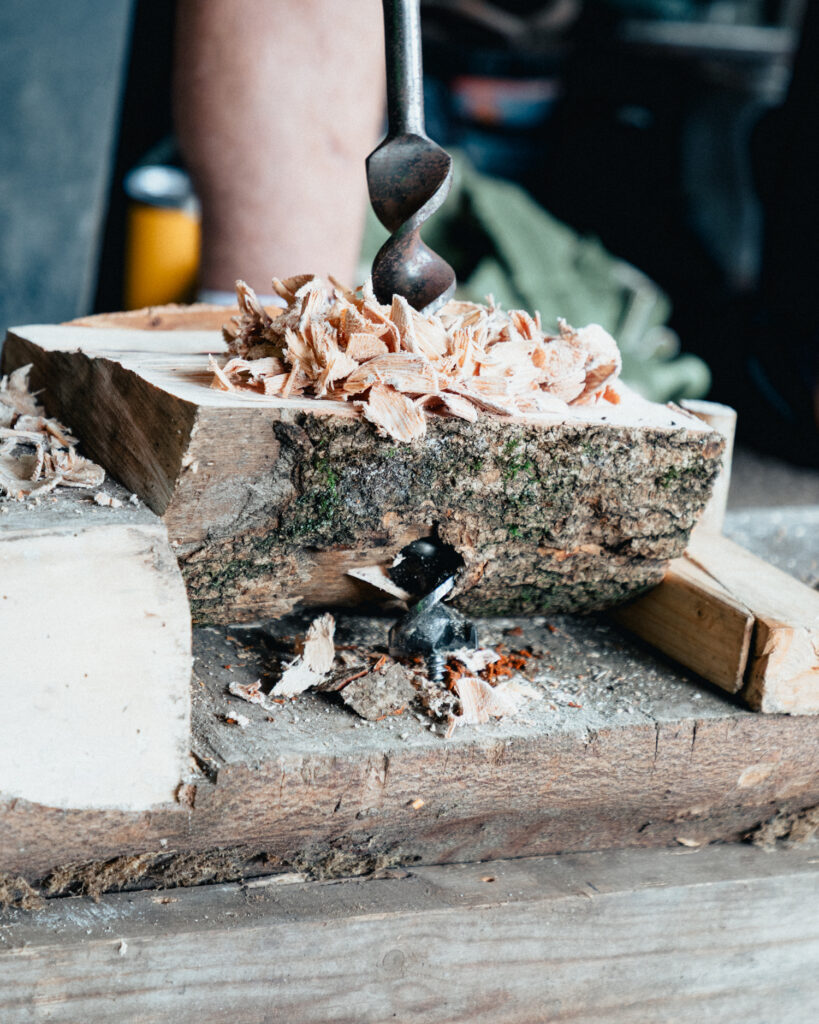
After drilling the holes, we needed to clean them up. Using a simple knife, we deburred the edges to ensure there were no lips that could catch the legs. We also used a drawknife to flatten the top of the seat and remove any remaining rough spots.
Refining the stools.
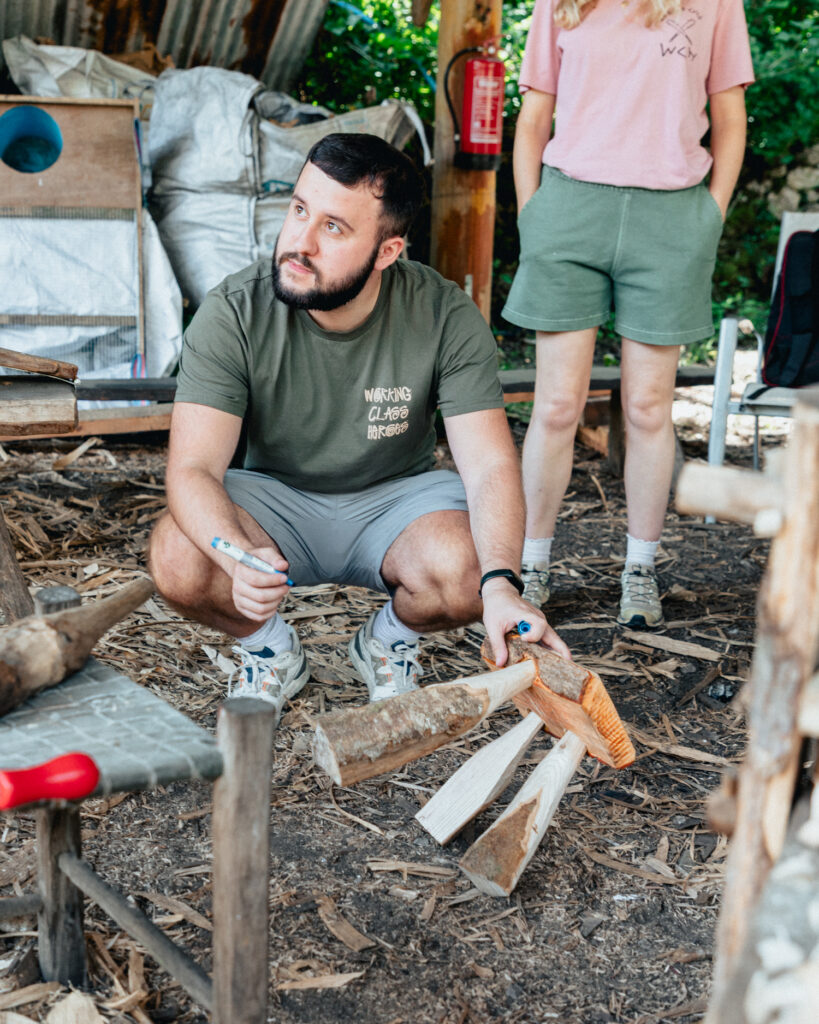
The final step once we had all of our components was assembly and refinement. We cut the legs down so they were all even and then using the drawknife we refined the top so it was neat and tidy.
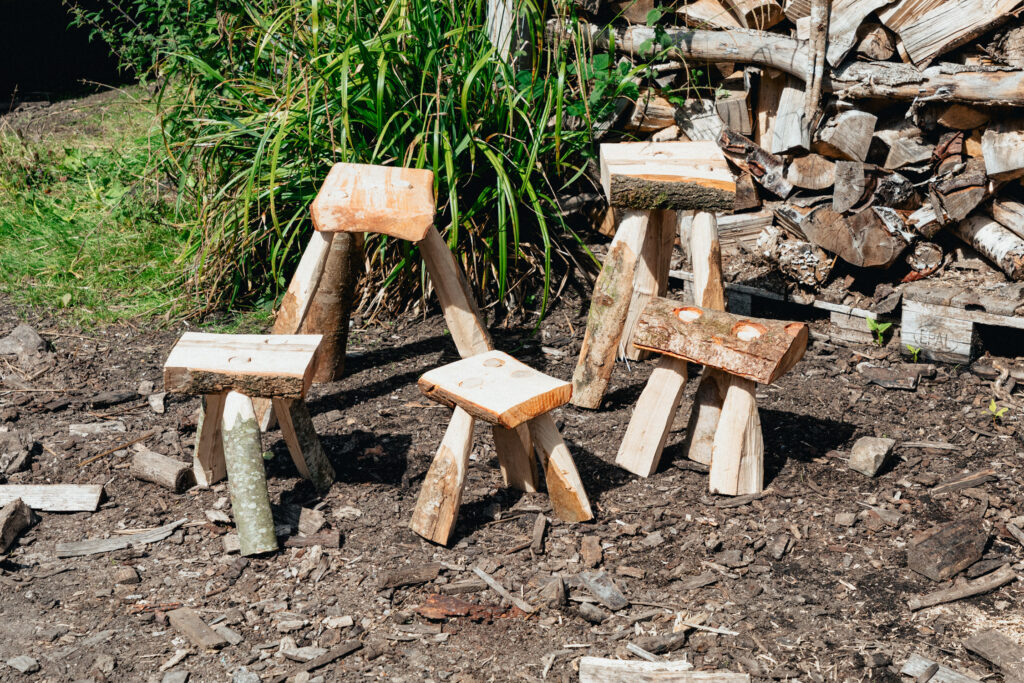
The finished product.
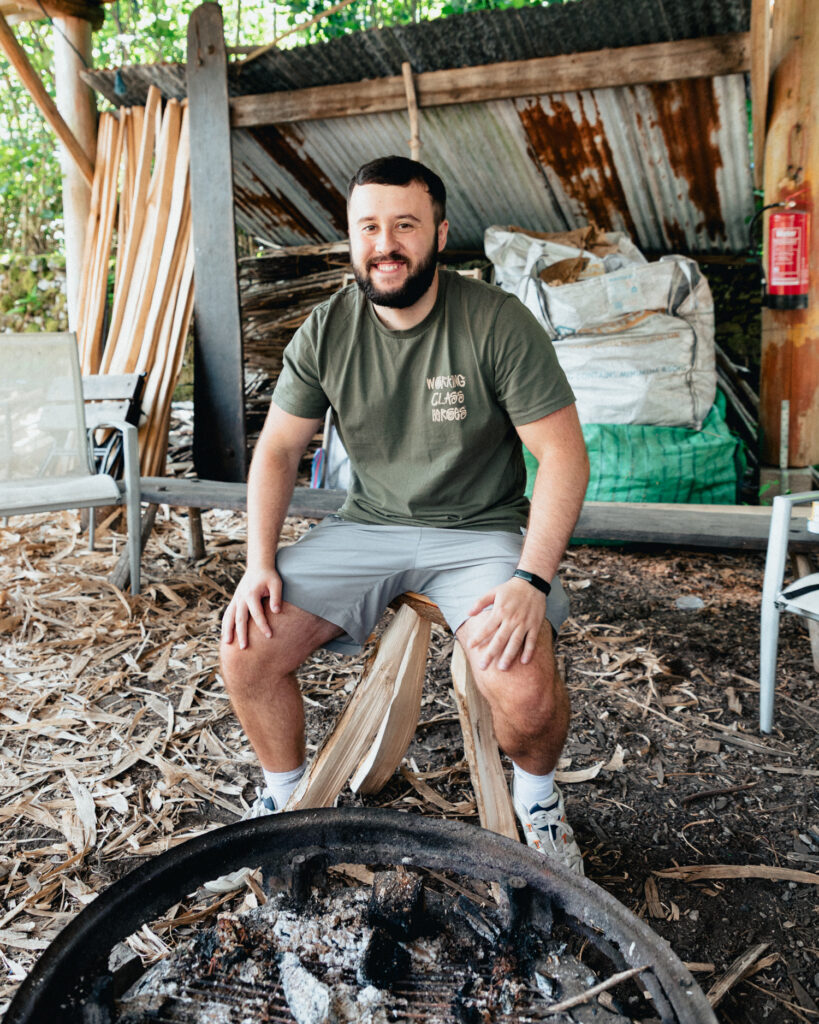
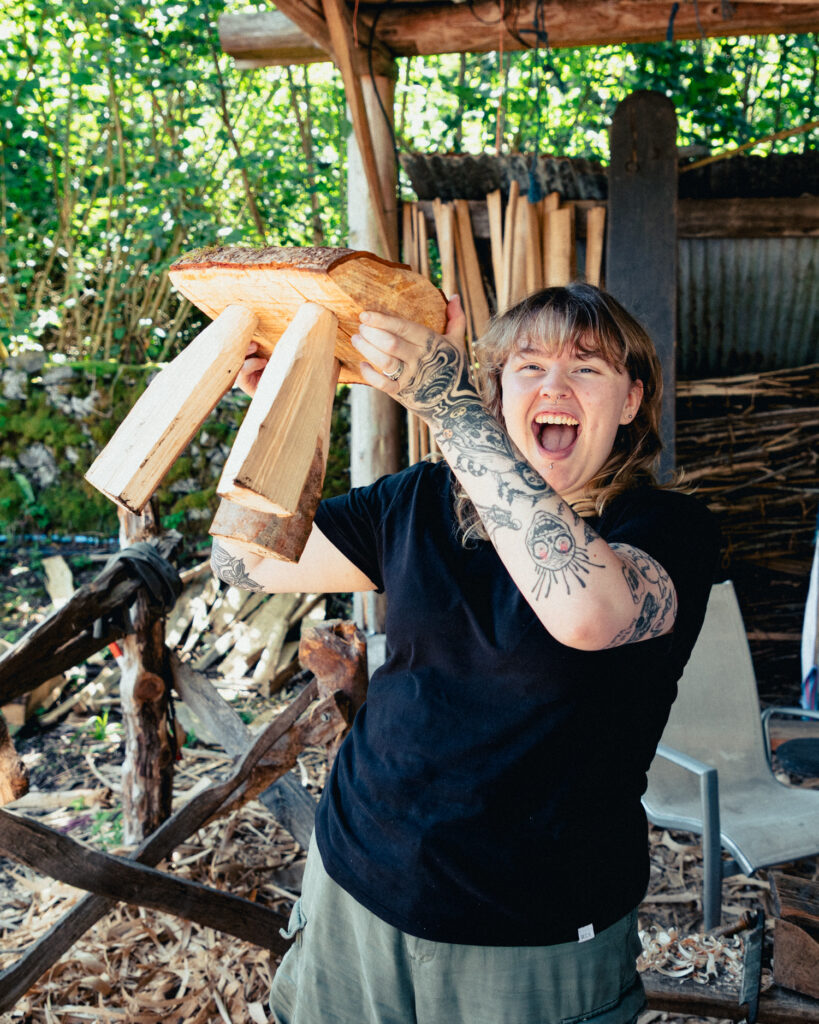
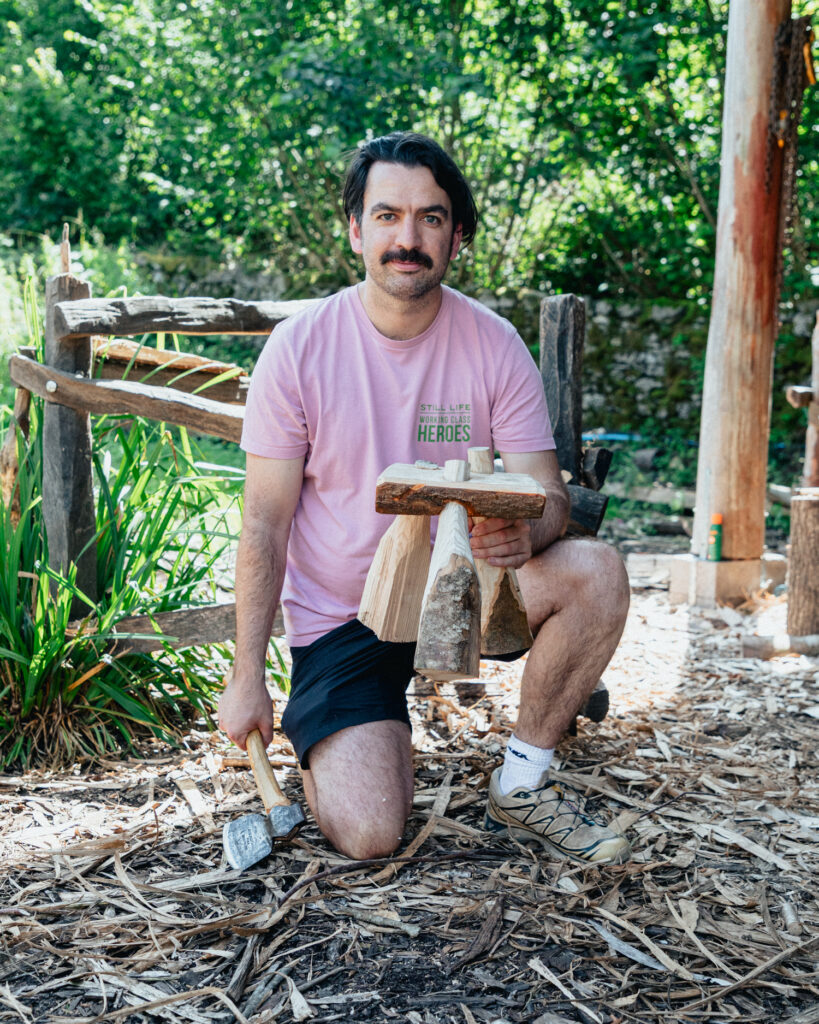
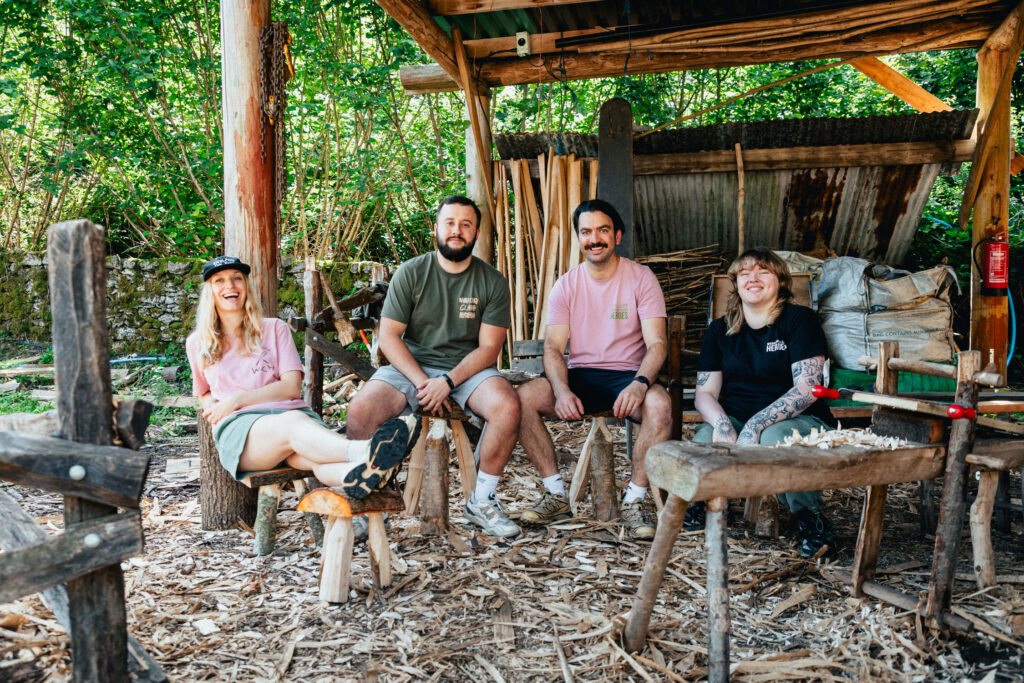
The team absolutely chuffed with the final product, 10/10 effort.
A big thanks to the Coppice Co-op for having us at their yard. For more information on the Coppice Co-op and the work they do you can visit their website via the following link: https://www.coppicecoop.co.uk/